
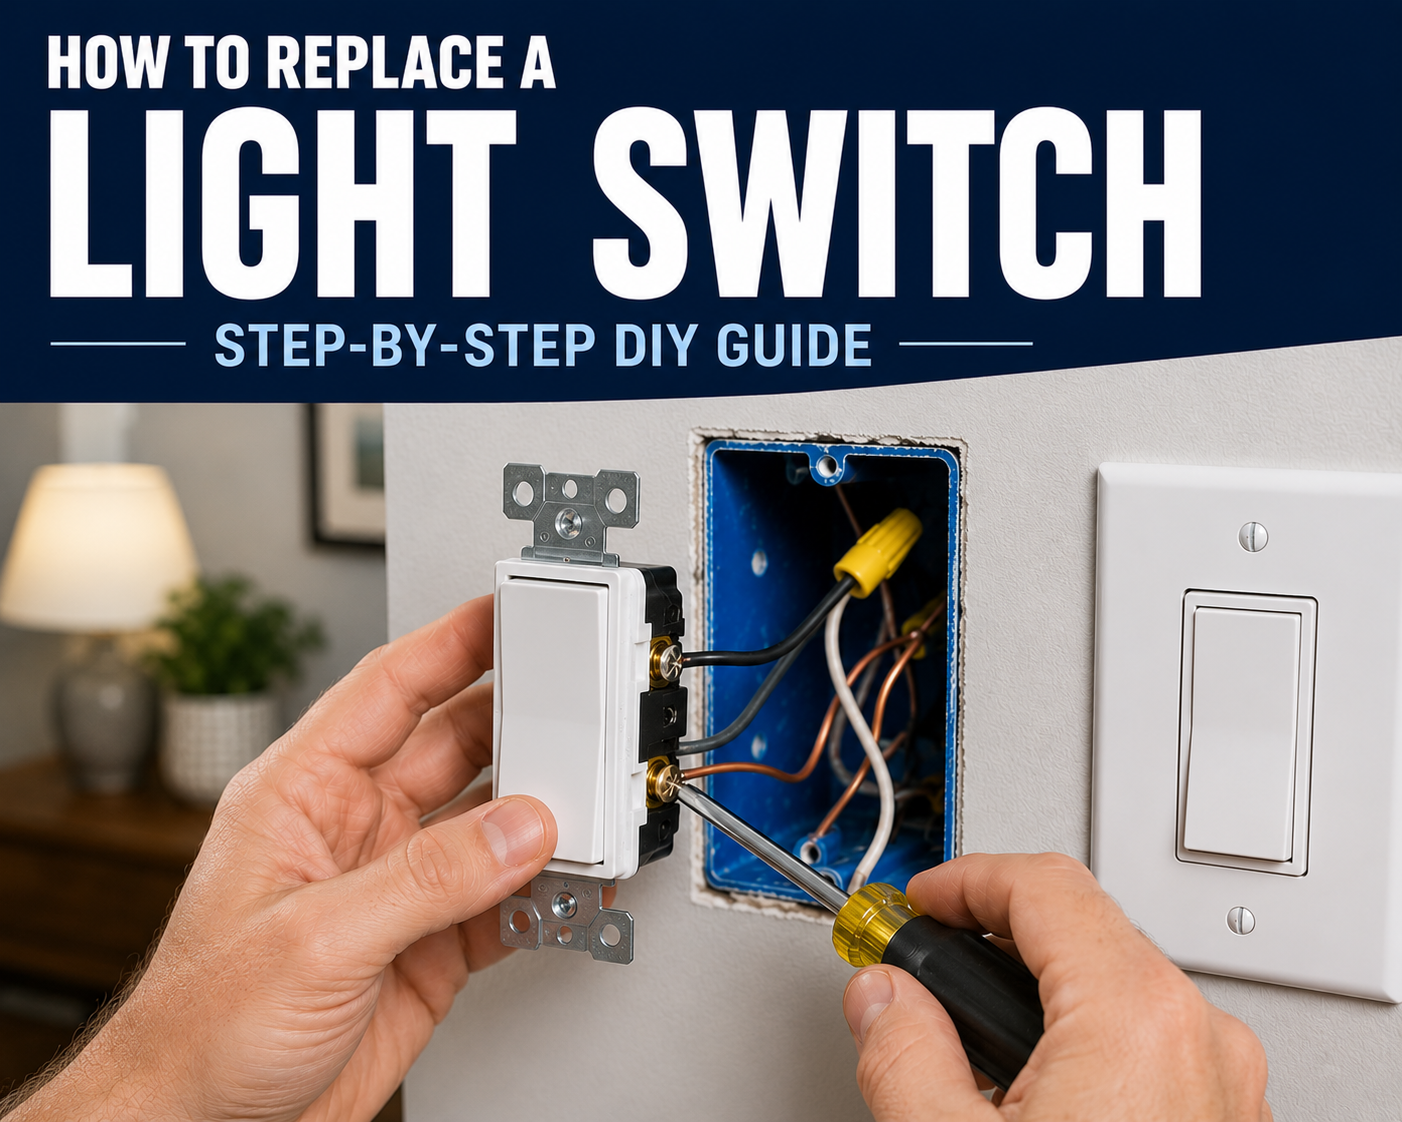
Safety First
Always turn off the power at the circuit breaker before removing the switch or touching any wires. After turning off the breaker, use a non-contact voltage tester to confirm the wires are not energized — never rely on the switch being off.
If you find burned or damaged wiring, aluminum wiring, or a setup that doesn’t match what you expected, stop and call a licensed electrician rather than guessing.
Time
20-30 Minutes
Difficulty
Easy
Cost
$5-$20
🧰Tools and Materials
Tools
- Non-contact voltage tester
- Phillips screwdriver
- Flat-head screwdriver
- Wire stripper/cutter
- Needle-nose pliers
- Flashlight or work light
Materials
- Replacement light switch
- Wire connectors, if needed
- Electrical tape, optional
Helpful but not required: Take a clear photo of the existing wiring before disconnecting anything. That gives you a reference if you get turned around during installation.
Having every tool within reach before you begin will make the replacement faster, safer, and much less frustrating.
Signs It’s Time to Replace a Light Switch
- The switch feels loose, wobbly, or no longer clicks firmly into position.
- The light flickers or cuts in and out when you operate the switch.
- You hear buzzing, crackling, or popping from the switch.
- The switch or wall plate feels unusually warm.
- You notice discoloration, scorch marks, or a burnt smell around the switch.
- The switch works intermittently or has stopped working completely.
- You simply want to replace an old or outdated switch with a newer one.
Important: If you see scorch marks, melted plastic, damaged wiring, or signs of overheating, don’t assume replacing the switch alone will fix the problem. Leave the power off until the cause is identified.
Before You Buy a New Light Switch…
- Identify the switch type. A single-pole switch controls a light from one location. If the same light is controlled from two locations, you’ll typically need a 3-way switch.
- Check the amperage and voltage rating. For a standard residential replacement, choose a switch rated appropriately for the existing circuit.
- Choose the right style. Toggle and rocker/paddle switches work similarly, so you can usually choose based on appearance and preference.
- Check the wall plate. Changing from a traditional toggle to a rocker switch may require a different wall plate.
- Don’t assume wire colors tell the whole story. Older homes, previous repairs, and different wiring methods can result in wire colors or connections that don’t match what you expect.
- For smart switches or dimmers, check the requirements first. Some require a neutral wire, specific bulb types, or other wiring that a standard switch does not.
Beginner Tip: If you’re replacing a working switch with the same type, take a clear photo of the original wiring before disconnecting anything. Your goal is usually to reproduce the existing connections on the new switch—not redesign the circuit.
Step 1: Turn Off the Power
Go to your electrical panel and turn off the breaker that supplies power to the light switch.
Flip the light switch on and off to make sure the light no longer works. Then remove the wall plate and use a non-contact voltage tester around the switch, wires, and electrical box to verify that no voltage is detected.
Do not begin removing the switch until you’ve confirmed the power is off.
What You Should See:
The light should stay off regardless of the switch position, and your voltage tester should not indicate voltage at the switch.
If Yours Looks Different:
If the light still works, your tester detects voltage, or you’re unsure which breaker controls the switch, stop and find the correct breaker before continuing. Never rely on the light being off by itself as proof that the wiring is safe to touch.
💡 Pro Tip: If your electrical panel isn’t clearly labeled, plug in a lamp or have someone watch the light while you test breakers. Once you find the correct breaker, label it now—it’ll save you time on future projects.
Step 2: Remove the Existing Switch
Remove the screws holding the wall plate in place and set the plate aside.
Next, remove the two screws securing the switch to the electrical box. Carefully pull the switch straight out far enough to see the wiring behind it. Do not disconnect any wires yet.
Take a clear photo of the existing wiring before moving anything. Make sure you can see which wires connect to each screw or terminal on the switch.
What You Should See:
For a typical single-pole switch, you’ll usually see two insulated wires connected to the switch plus a bare copper or green ground wire. You may also see neutral wires bundled together in the back of the box—they normally do not connect to a basic mechanical switch.
If Yours Looks Different:
If you see three insulated wires connected to the switch, multiple switches sharing the box, unusual wiring, or anything that doesn’t match what you expected, don’t start disconnecting wires yet. Your switch may be part of a 3-way circuit or another wiring configuration.
💡 Pro Tip: Take more than one photo from different angles. A good “before” picture can be extremely helpful if you forget where a wire was connected later.
Step 3: Identify and Disconnect the Wires
Before removing anything, compare the wiring to the photo you took and note where each wire connects to the old switch.
For a typical single-pole switch, you’ll usually have two insulated wires connected to the switch terminals and one bare copper or green ground wire. Loosen the terminal screws and carefully disconnect the wires.
If the wires are pushed into holes in the back of the switch instead of wrapped around screws, use the release slot if provided. Avoid cutting the wires unless necessary—you want to preserve as much usable wire length as possible.
What You Should See:
After disconnecting the switch, you should have two insulated switch wires and a ground wire available for the new switch. Neutral wires may remain bundled together in the back of the box.
If Yours Looks Different:
If you see a red wire, three insulated wires attached to the switch, more than one cable feeding the switch, or wiring you can’t confidently identify, refer back to your photos and stop before reconnecting anything incorrectly. You may be dealing with a 3-way switch or another wiring configuration.
💡 Pro Tip: Don’t assume a wire’s job based only on its color. Where it was connected on the old switch is often more useful than color alone, which is why those before-photos matter so much.
Step 4: Connect the New Switch
Connect the wires to the new switch one at a time, using your photo of the old switch as your reference.
For a standard single-pole switch, connect the two insulated switch wires to the two brass-colored terminal screws. Either insulated wire can typically go to either brass terminal on a basic single-pole switch.
Connect the bare copper or green ground wire to the green grounding screw.
If using the side screws, bend each wire into a small hook with needle-nose pliers. Wrap the hook clockwise around the screw so it tightens around the terminal as you tighten the screw. Make sure each connection is snug and no excess bare copper is exposed.
What You Should See:
You should have two insulated wires securely connected to the switch terminals and the ground wire connected to the green screw. The wires should not pull loose with a gentle tug.
If Yours Looks Different:
If your new switch has terminals labeled COMMON, LINE, LOAD, TRAVELER, or NEUTRAL, stop and check the switch instructions before connecting it. You may have a 3-way, smart, dimmer, or other type of switch that does not wire the same way as a basic single-pole switch.
💡 Pro Tip: Before putting the switch back into the box, give each wire a gentle tug. Finding a loose connection now is much easier than after everything is screwed back together.
Step 5: Tuck the Wires Back Into the Box
Carefully fold the wires back into the electrical box rather than forcing the switch straight in. Try to arrange the wires in gentle folds so they sit behind the switch without being sharply bent, pinched, or trapped against the edge of the box.
Push the switch into position and make sure the ON/OFF markings are oriented correctly if your switch has them. Install the top and bottom mounting screws, but don’t fully tighten them yet.
Adjust the switch until it sits straight and flush with the wall, then snug the mounting screws.
What You Should See:
The switch should sit flat and straight against the electrical box without springing outward or requiring excessive force to hold it in place.
If Yours Looks Different:
If the switch won’t fit back into the box easily, don’t force it. Pull it back out and rearrange the wires. A crowded box, bulky wire connectors, or wires folded in the wrong direction can prevent the switch from seating properly.
💡 Pro Tip: Leave the wall plate off until after you test the switch. If something doesn’t work, you’ll have quicker access without having to remove it again.
Step 6: Restore Power and Test
Once the switch is securely mounted and no bare wiring is exposed outside the electrical box, return to the electrical panel and turn the breaker back on.
Test the switch several times. The light should turn on and off normally without flickering, buzzing, crackling, or delay.
If everything works correctly, turn the breaker back off before making any final adjustments to the switch. Install the wall plate, make sure it sits straight, then restore power again.
What You Should See:
The light should respond normally every time you operate the switch. The switch should feel solid and operate with a clean click.
If Yours Looks Different:
If the light doesn’t turn on, the breaker trips, the light flickers, or you hear buzzing or crackling, turn the breaker back off immediately. Don’t repeatedly reset a tripping breaker. We’ll cover what to check next in the If Something Goes Wrong section.
💡 Pro Tip: Don’t overtighten the wall plate screws. Too much pressure can crack a plastic wall plate or cause it to bow against the wall.
🛑 If Something Goes Wrong
If your new light switch doesn’t work perfectly the first time, don’t assume you did something major wrong. Turn the breaker off again before removing the wall plate or touching the switch, then work through the problem below.
The light doesn’t turn on:
Check that the bulb works first. Then, with the breaker off, make sure both switch wires are securely connected and haven’t slipped loose while you pushed the switch into the box.
The breaker trips when you turn it back on:
Leave the breaker off. Look for a bare wire touching another terminal, the metal box, or another exposed conductor. Also check for damaged or pinched wiring. Do not keep resetting a breaker that repeatedly trips.
The light flickers when you use the switch:
Turn the power off and check the switch connections. A loose terminal connection can cause intermittent operation and should be corrected before using the switch.
The switch works, but it feels loose or crooked:
Turn the breaker off and loosen the mounting screws slightly. Reposition the switch so it sits straight and flush, then snug the screws again.
The switch won’t fit back into the box:
Don’t force it. Pull the switch forward and carefully refold the wires deeper into the box. Make sure wire connectors and wires aren’t stacked directly behind the switch.
You found different wiring than expected:
If you discover a red wire, multiple wires attached to the same terminal, a 3-way setup, damaged wiring, aluminum wiring, or anything you cannot confidently identify, stop and don’t guess based on wire color. Take a photo of the original configuration and get help identifying the circuit before making changes.
Still not working?
If you’ve verified the connections and the switch still doesn’t operate correctly, the problem may not be the switch itself. The light fixture, breaker, wiring, or another device on the circuit could be the actual cause. For more troubleshooting steps, see How to Fix a Light Switch That Isn’t Working.
❌Common Mistakes to Avoid
- Skipping the voltage test: Turning off the breaker isn’t enough. Always verify the switch and wires are de-energized with a non-contact voltage tester before touching them.
- Disconnecting wires before taking a photo: A quick picture of the original connections can save a lot of confusion later.
- Assuming wire color tells you everything: Wire colors can be misleading, especially in older or previously modified wiring. Pay attention to how the original switch was connected.
- Leaving connections loose: Loose terminal connections can cause flickering, intermittent operation, or overheating. Give each wire a gentle tug before reinstalling the switch.
- Leaving too much bare copper exposed: Bare conductor should not extend unnecessarily beyond the terminal where it could contact another wire or the box.
- Forcing the switch into the box: If it doesn’t fit easily, pull it back out and rearrange the wires instead of crushing or sharply bending them.
- Buying the wrong type of switch: A single-pole switch and a 3-way switch aren’t interchangeable for every application. Identify what you have before buying the replacement.
- Continuing when the wiring doesn’t match the guide: If you find unexpected wires, damaged insulation, aluminum wiring, or a configuration you can’t identify, stop rather than experimenting.
❓ FAQs
Does it matter which wire goes where on a single-pole light switch?
On a basic mechanical single-pole switch with two equivalent switch terminals, the two insulated switch wires can typically connect to either terminal. The ground wire connects to the green grounding screw. Always follow the markings and instructions included with your specific switch.
Why doesn’t my light switch have a neutral wire connected to it?
Traditional mechanical switches usually don’t require a neutral. You may see white neutral wires bundled together in the back of the electrical box instead. Many smart switches, however, do require a neutral.
What if I see a red wire?
Don’t assume what it does based on color alone. Red wires are commonly used as switched conductors or travelers in 3-way circuits. Use the original connections and circuit configuration to identify its purpose before disconnecting anything.
Can I replace a regular switch with a dimmer?
Usually, but the dimmer must be compatible with the circuit and the type of bulbs being controlled. LED bulbs should be dimmable and compatible with the dimmer you choose.
Can I replace a toggle switch with a rocker switch?
Yes, in most cases. The electrical function can be the same, but you’ll likely need a wall plate designed for the rocker-style opening.
What if there’s no ground wire in the box?
Older homes may not have a grounding conductor at every switch box. Don’t simply add a loose ground wire or connect one somewhere arbitrary. The proper solution depends on how the electrical system is wired.
Why does my new switch work, but the light flickers?
Turn the breaker off and check the connections. A loose wire or terminal can cause flickering. If the connections are secure and the problem continues, the issue could be elsewhere in the fixture or circuit.
Can I replace a light switch myself?
Replacing a straightforward single-pole switch is a manageable DIY project for many homeowners. If the wiring is damaged, unusually configured, or you cannot confidently verify what each connection does, call an electrician.
🚨 When to Call a Professional
Replacing a standard single-pole light switch is usually a manageable DIY project, but some situations are better left to a licensed electrician.
Call a professional if:
- The breaker trips repeatedly after installing the new switch.
- You find burned, melted, brittle, or damaged wiring.
- You notice scorch marks or a persistent burning smell.
- The switch or wiring becomes unusually warm.
- You find aluminum wiring.
- You can’t confidently identify the existing wiring or switch type.
- The wiring doesn’t match the expected single-pole setup.
- There’s no grounding conductor and you’re unsure whether the box or circuit is properly grounded.
- The light still doesn’t work after you’ve verified the switch connections.
- You’re uncomfortable working around electrical wiring at any point.
Bottom line: If you can’t positively identify the wiring or something doesn’t look right, don’t experiment. An electrician can determine what’s happening without risking damage to the circuit—or injury.